Jewel Collection
Sega Sammy · Multi-Jewel Meters
How the game works and what to check
Start with the documented Jewel Collection feature
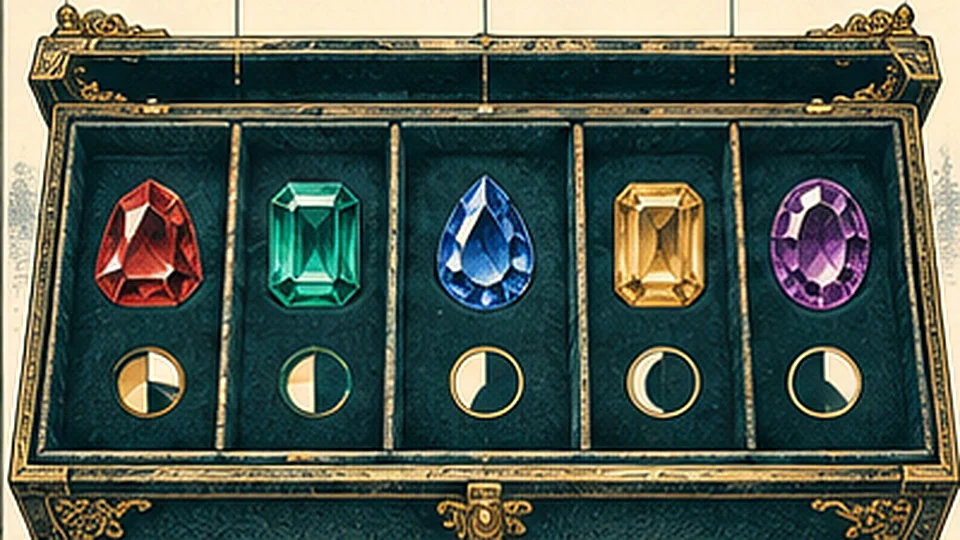
Matching jewels can improve their corresponding meter or wild component. Several colors can be elevated at the same time, so the useful state is a four-part distribution rather than one combined total.
Check that the game matches this guide. Read the help screen, note the bet and denomination, and check what stays on the screen after each spin. A different version may have different rules.
What is public and what members unlock
This free preview explains the feature and the rules to check. Members get the full guide, suggested starting points and the assumptions behind our estimates. Always check the machine in front of you.
- Multi-Jewel Meters suggested starting points
- Bet / denomination checks
- Reset, pass and uncertainty conditions
- Machine-specific research notes and assumptions
Read the number before the artwork
Matching jewels can improve their corresponding meter or wild component. Several colors can be elevated at the same time, so the useful state is a four-part distribution rather than one combined total.
The amethyst, sapphire, emerald and ruby meters separately, plus any visible scatter or free-game collection progress.
Focusing on the strongest jewel while ignoring weak companion meters, bet cost and whether the feature that uses the jewel state is close to occurring.
Level of all four jewel meters
What each color changes
Separate free-game or scatter progress
Whether components reset together or independently
Continue with the complete member guide
The public preview introduces the visible state. APWebsite Pro members can continue into the machine-specific research, verification workflow and related evidence.
See Member Access